Quick start
This page takes one machine from nothing to an AS2 message sent to a partner and one received from them. It takes about fifteen minutes. If you do not have a partner yet, follow this page and then try it with a second instance.
A new MicroB2B already has a working setup. It has an organization (local), an AS2 receiver and sender, a file poller and writer, and routes between them. What it cannot know is who you are in AS2 and who your partner is. That is what you add here.
Before you start
You need:
- A Linux machine (Windows and macOS binaries are built too).
- Go (the version named in
go.mod),just,gitandopenssl, to build MicroB2B from its source. - Your partner’s AS2 ID, the URL they receive AS2 messages at, and their certificate. For a test you can make your own, see step 4.
1. Build the program
In a checkout of the MicroB2B source, build the release binaries and put the Linux one on your PATH:
just build-release
sudo cp target/microb2b-linux-amd64 /usr/local/bin/microb2b
just build-release writes target/microb2b-linux-amd64, target/microb2b-windows-amd64.exe and target/microb2b-darwin-amd64. To run MicroB2B in a container instead, see Install and run.
2. Make the three required settings
MicroB2B does not start without three settings. PUBLIC_URL is the address you open it at. SESSION_KEY protects the sign-in cookies. SECRETS_KEY encrypts the private keys and passwords MicroB2B stores.
Make them once and keep them in a file:
mkdir -p ~/microb2b-demo && cd ~/microb2b-demo
cat > microb2b.env <<KEYS
export PUBLIC_URL=http://localhost:8080
export SESSION_KEY=$(openssl rand -base64 32)
export SECRETS_KEY=$(openssl rand -base64 32)
KEYS
chmod 600 microb2b.env
. ./microb2b.env
Keep SECRETS_KEY safe. The database cannot be used again without it. Plain http works for localhost only. On a real server, MicroB2B runs behind a reverse proxy with HTTPS. See Required settings and Reverse proxy.
3. Create your user and start MicroB2B
There is no default user or password. Create the first user, then start MicroB2B in the same directory:
microb2b users create admin
microb2b standalone
users create prints a setup link. It works once, for 24 hours. standalone runs everything in one process: the web UI and REST API on port 8080, the AS2 receiver on port 8081, and the database. The database is a SQLite file, microb2b.db, in the current directory. Message contents go to ./payloads next to it. Run both commands in the same directory, so they use the same database.
Check that it runs, from another terminal:
curl http://localhost:8080/health
# {"status":"healthy","timestamp":"...","database":"up"}
Now open the setup link in your browser:
- Choose a password.
- Scan the QR code with an authenticator app, such as any TOTP app on your phone, and enter a code from it.
- Save the recovery codes the page shows. You need them if you lose your phone.
- Sign in at http://localhost:8080/ with
admin, your password and a code.
See Users and Signing in for more.
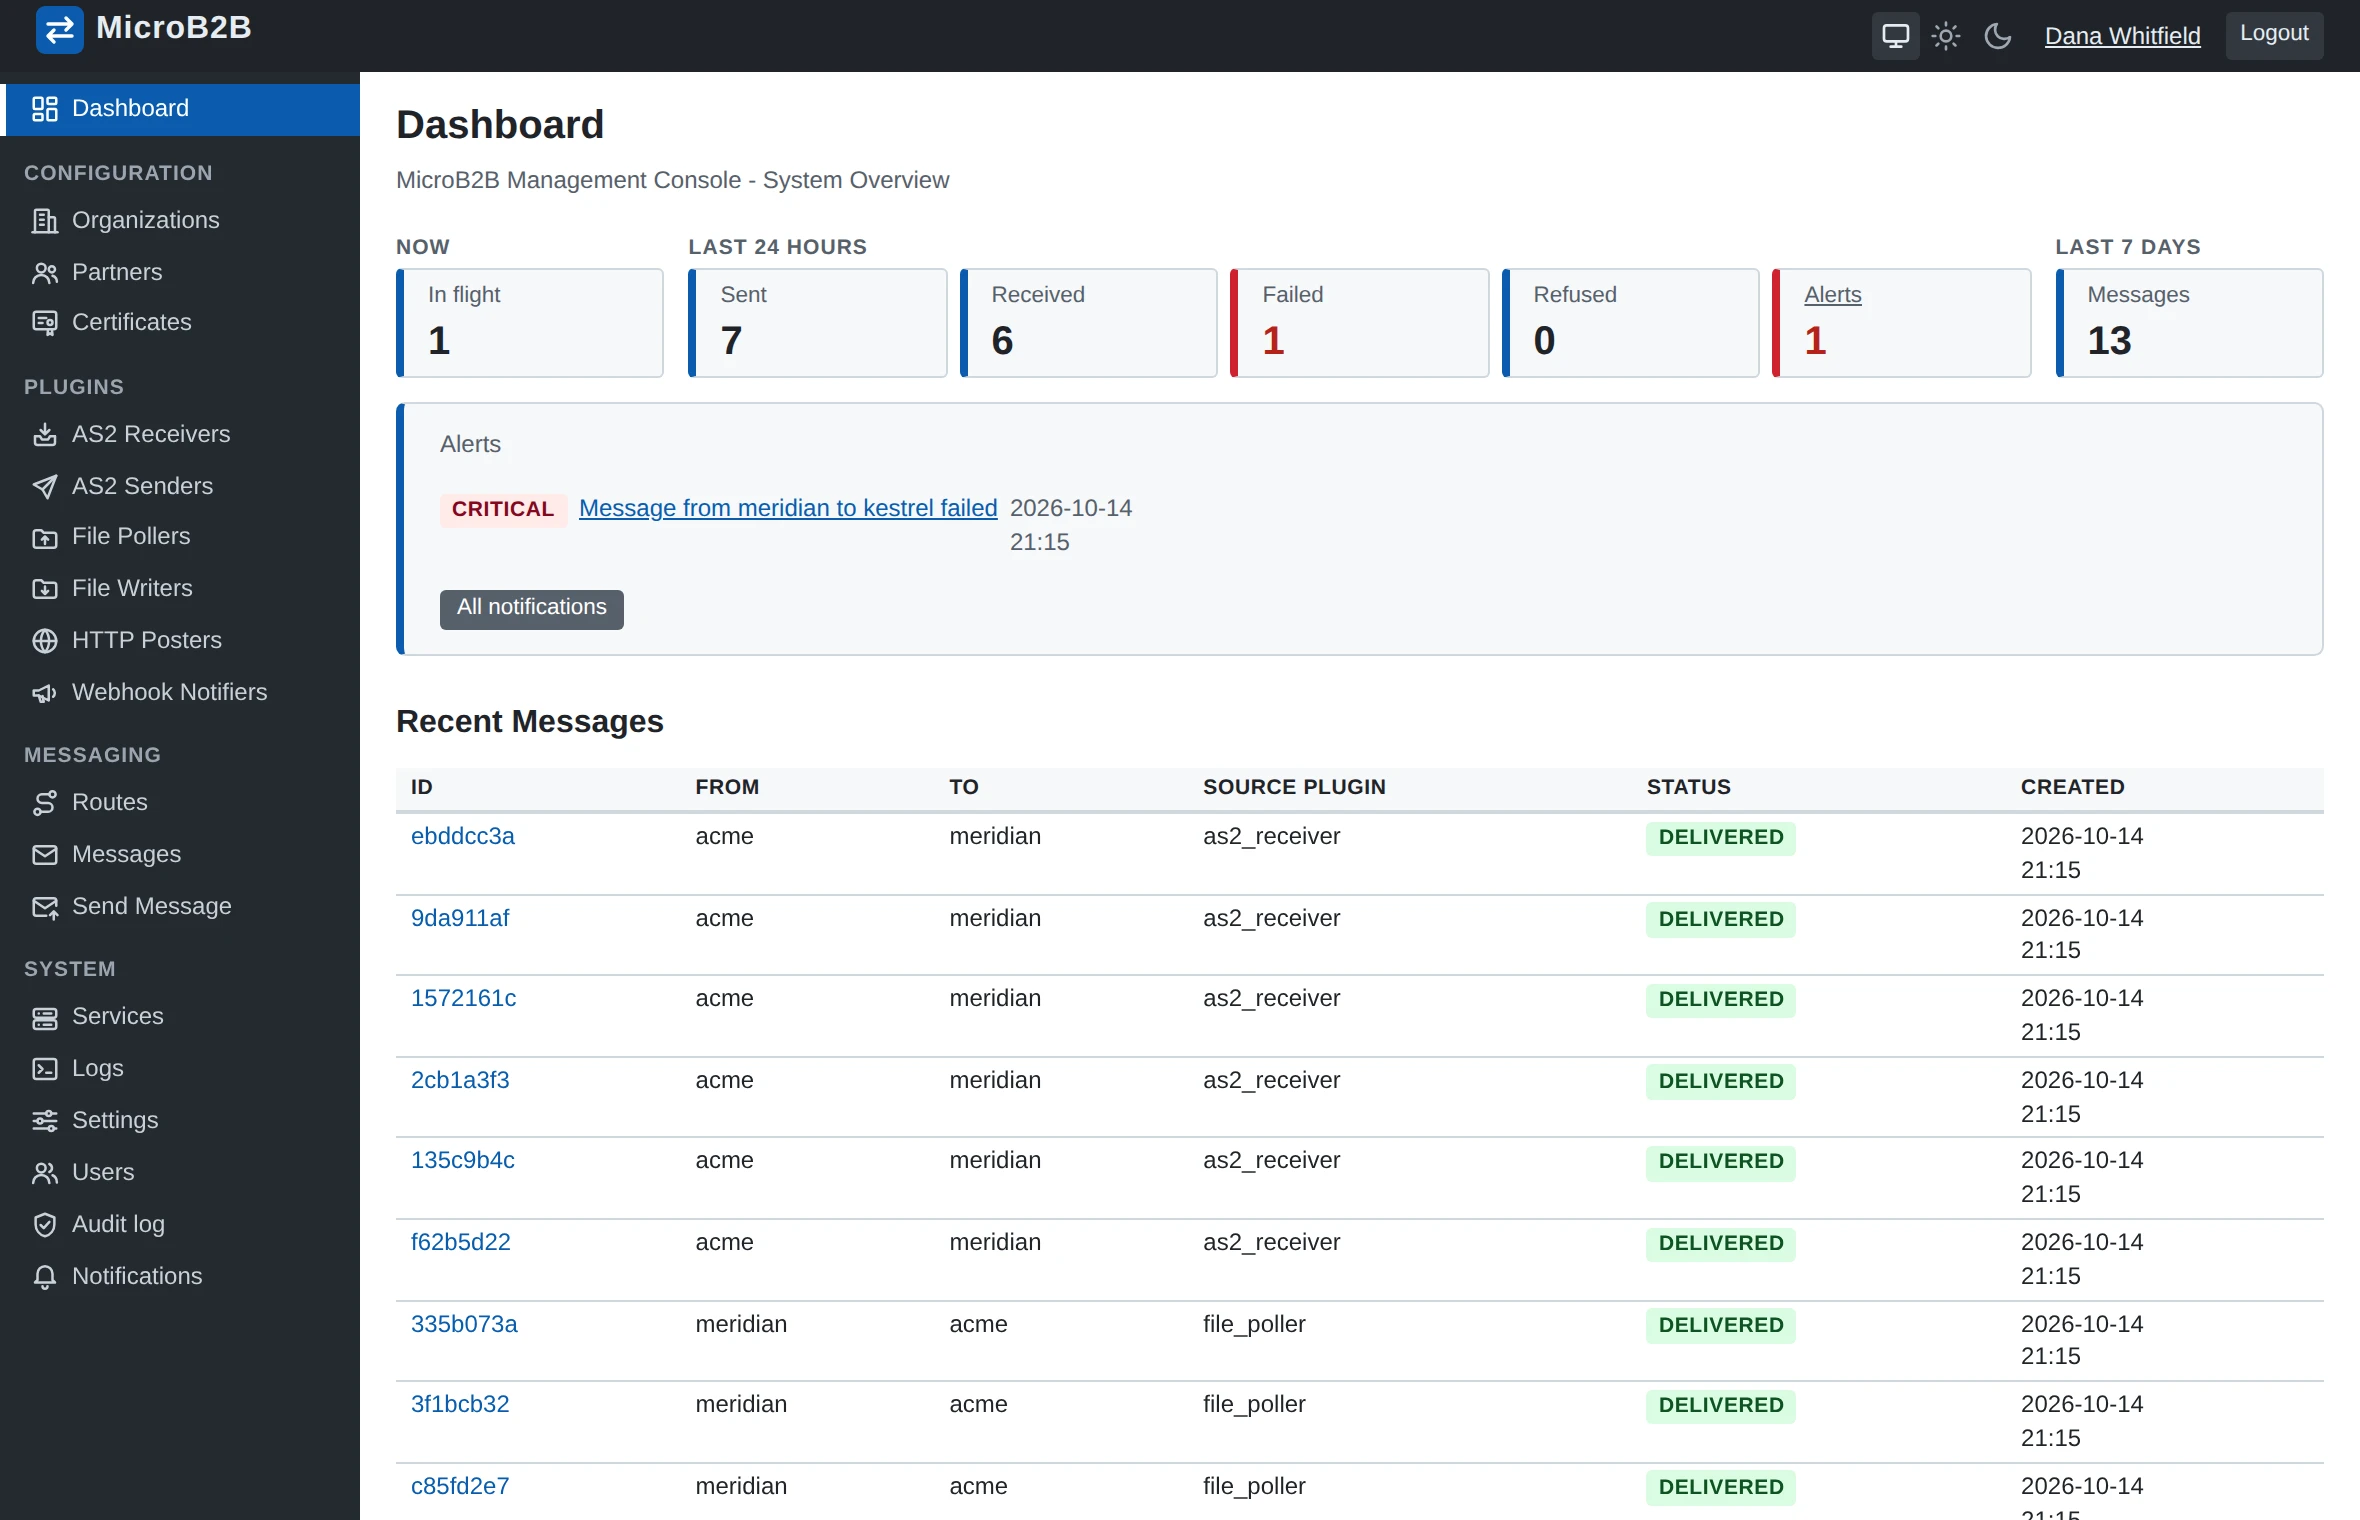
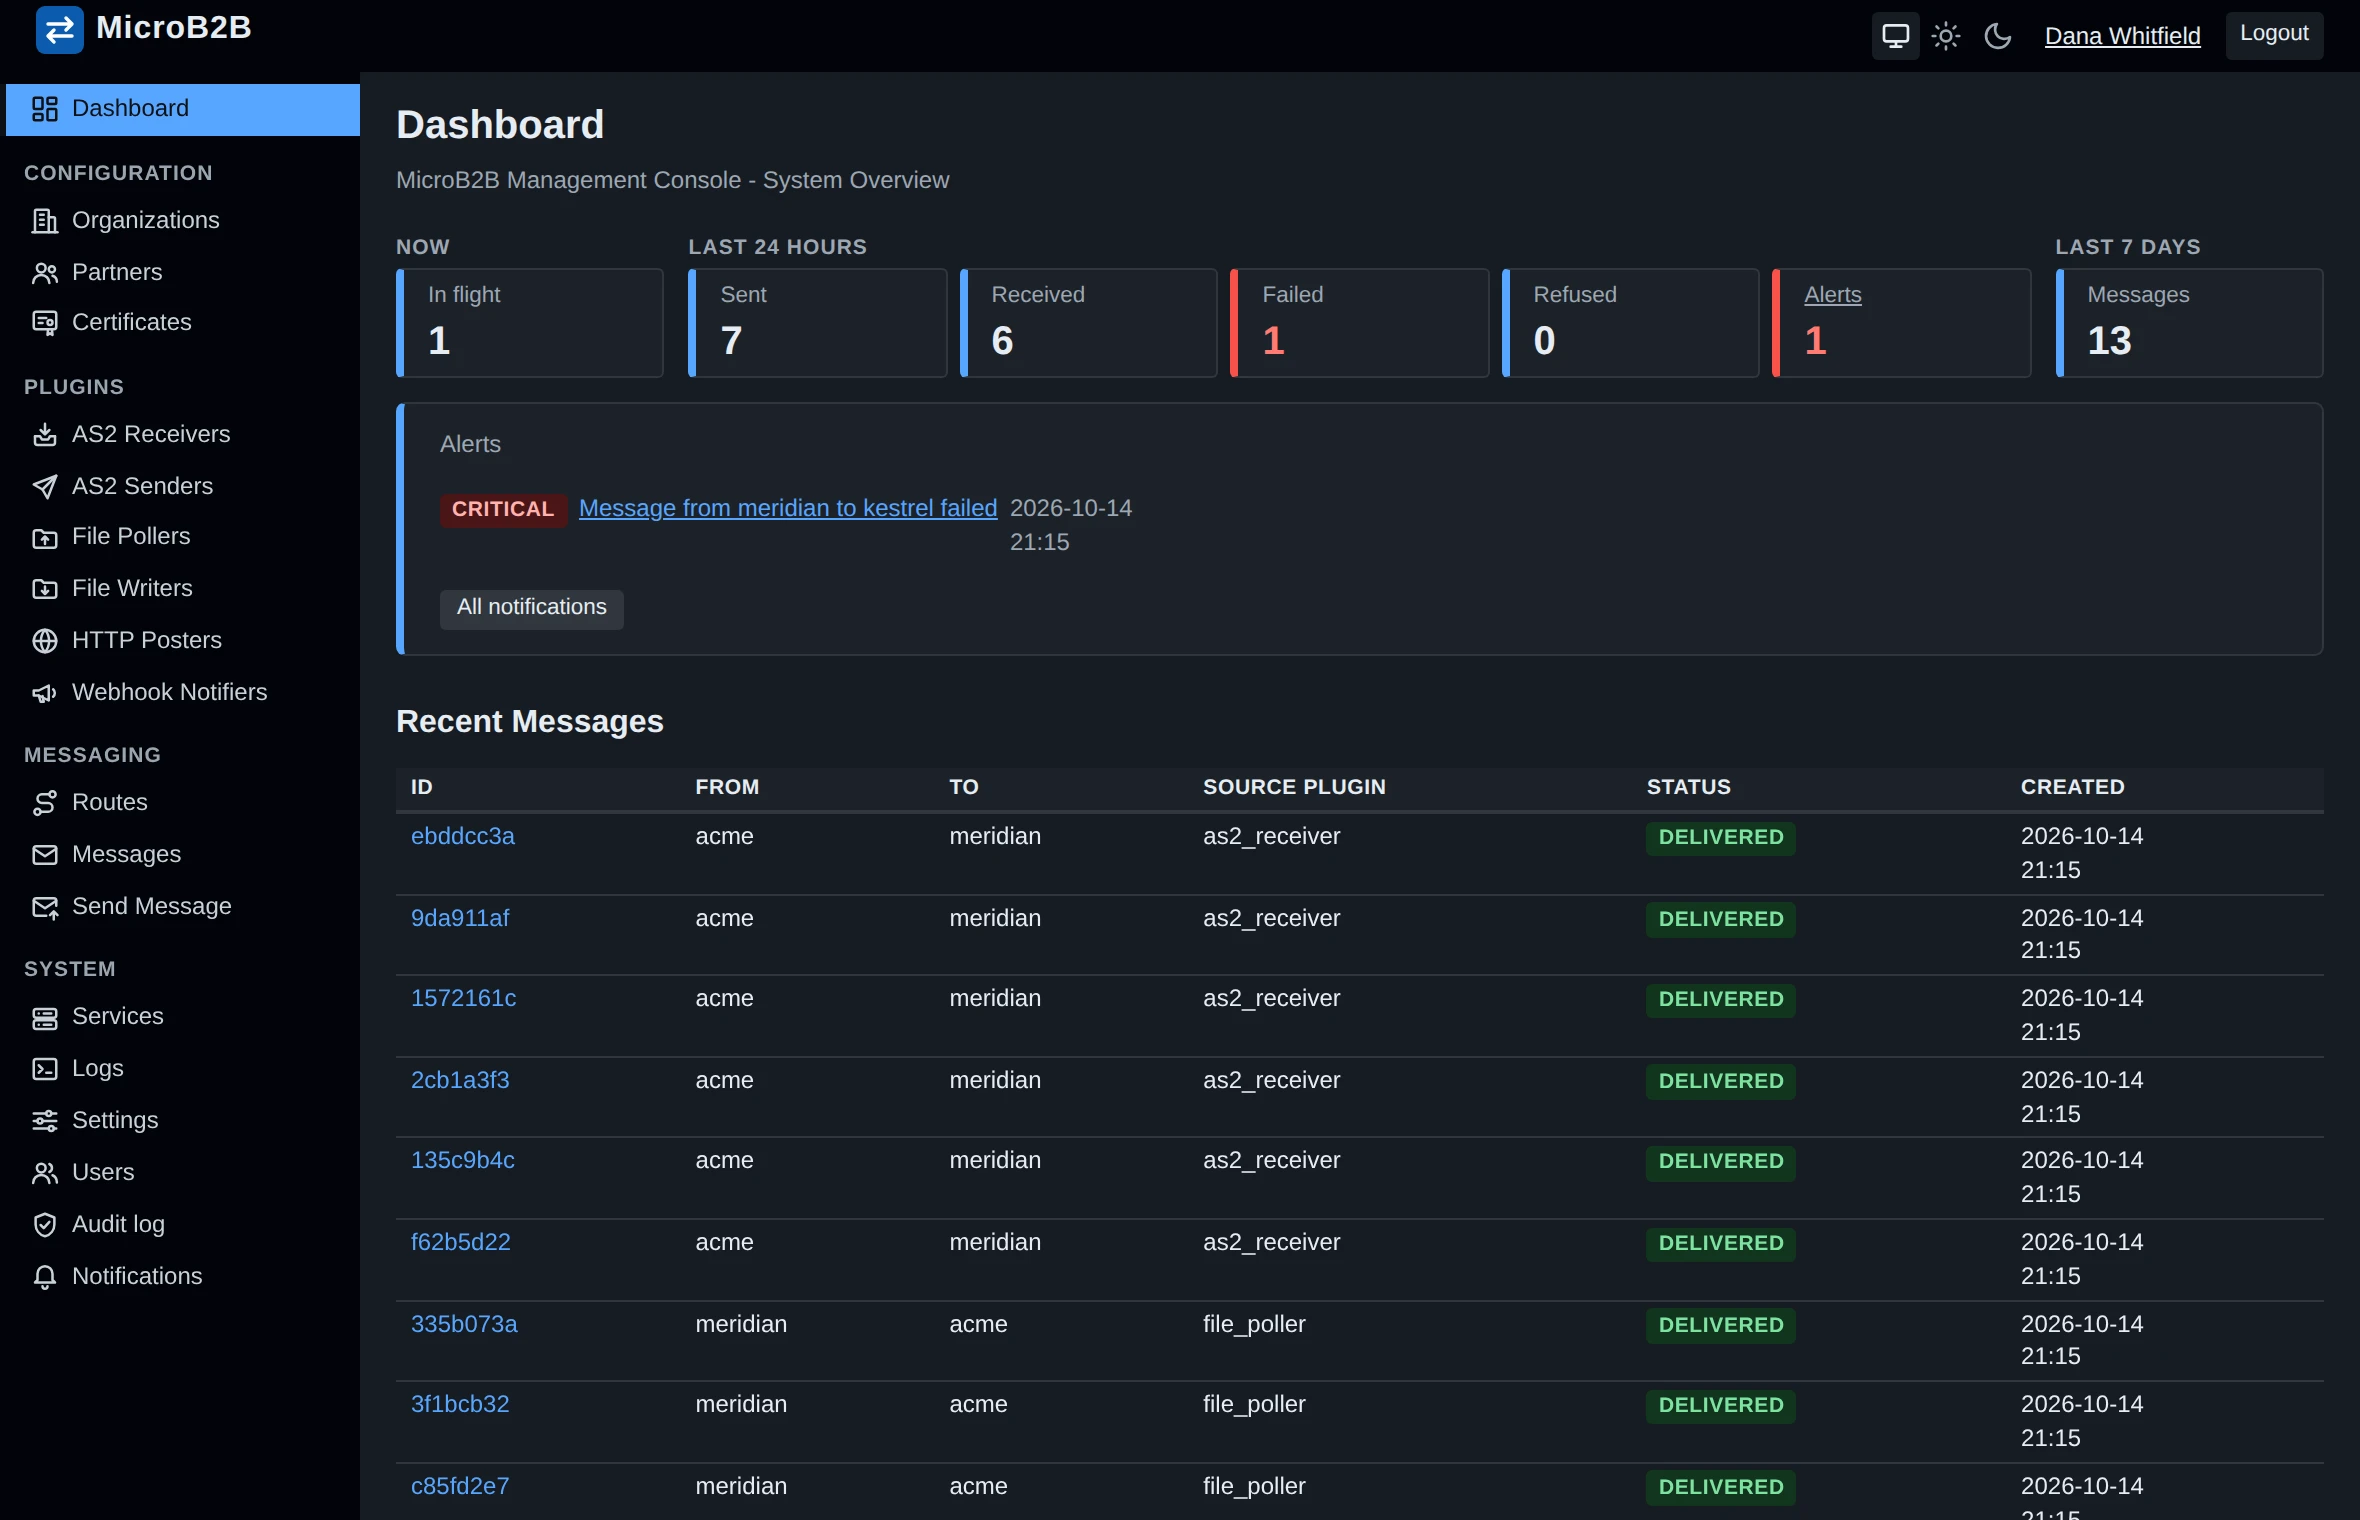
The menu on the left has the sections Configuration, Plugins, Messaging, Access and System.
4. Upload the certificates
AS2 signs and encrypts messages with certificates. You need your own certificate with its private key, and your partner’s certificate. Your partner sends you theirs. You never see their key.
For a test, make two self-signed certificates, one for you and one for the partner:
cd ~/microb2b-demo
openssl req -x509 -newkey rsa:2048 -nodes -keyout us.key  -out us.crt  -days 365 -subj "/CN=MICROB2B"
openssl req -x509 -newkey rsa:2048 -nodes -keyout acme.key -out acme.crt -days 365 -subj "/CN=ACME"
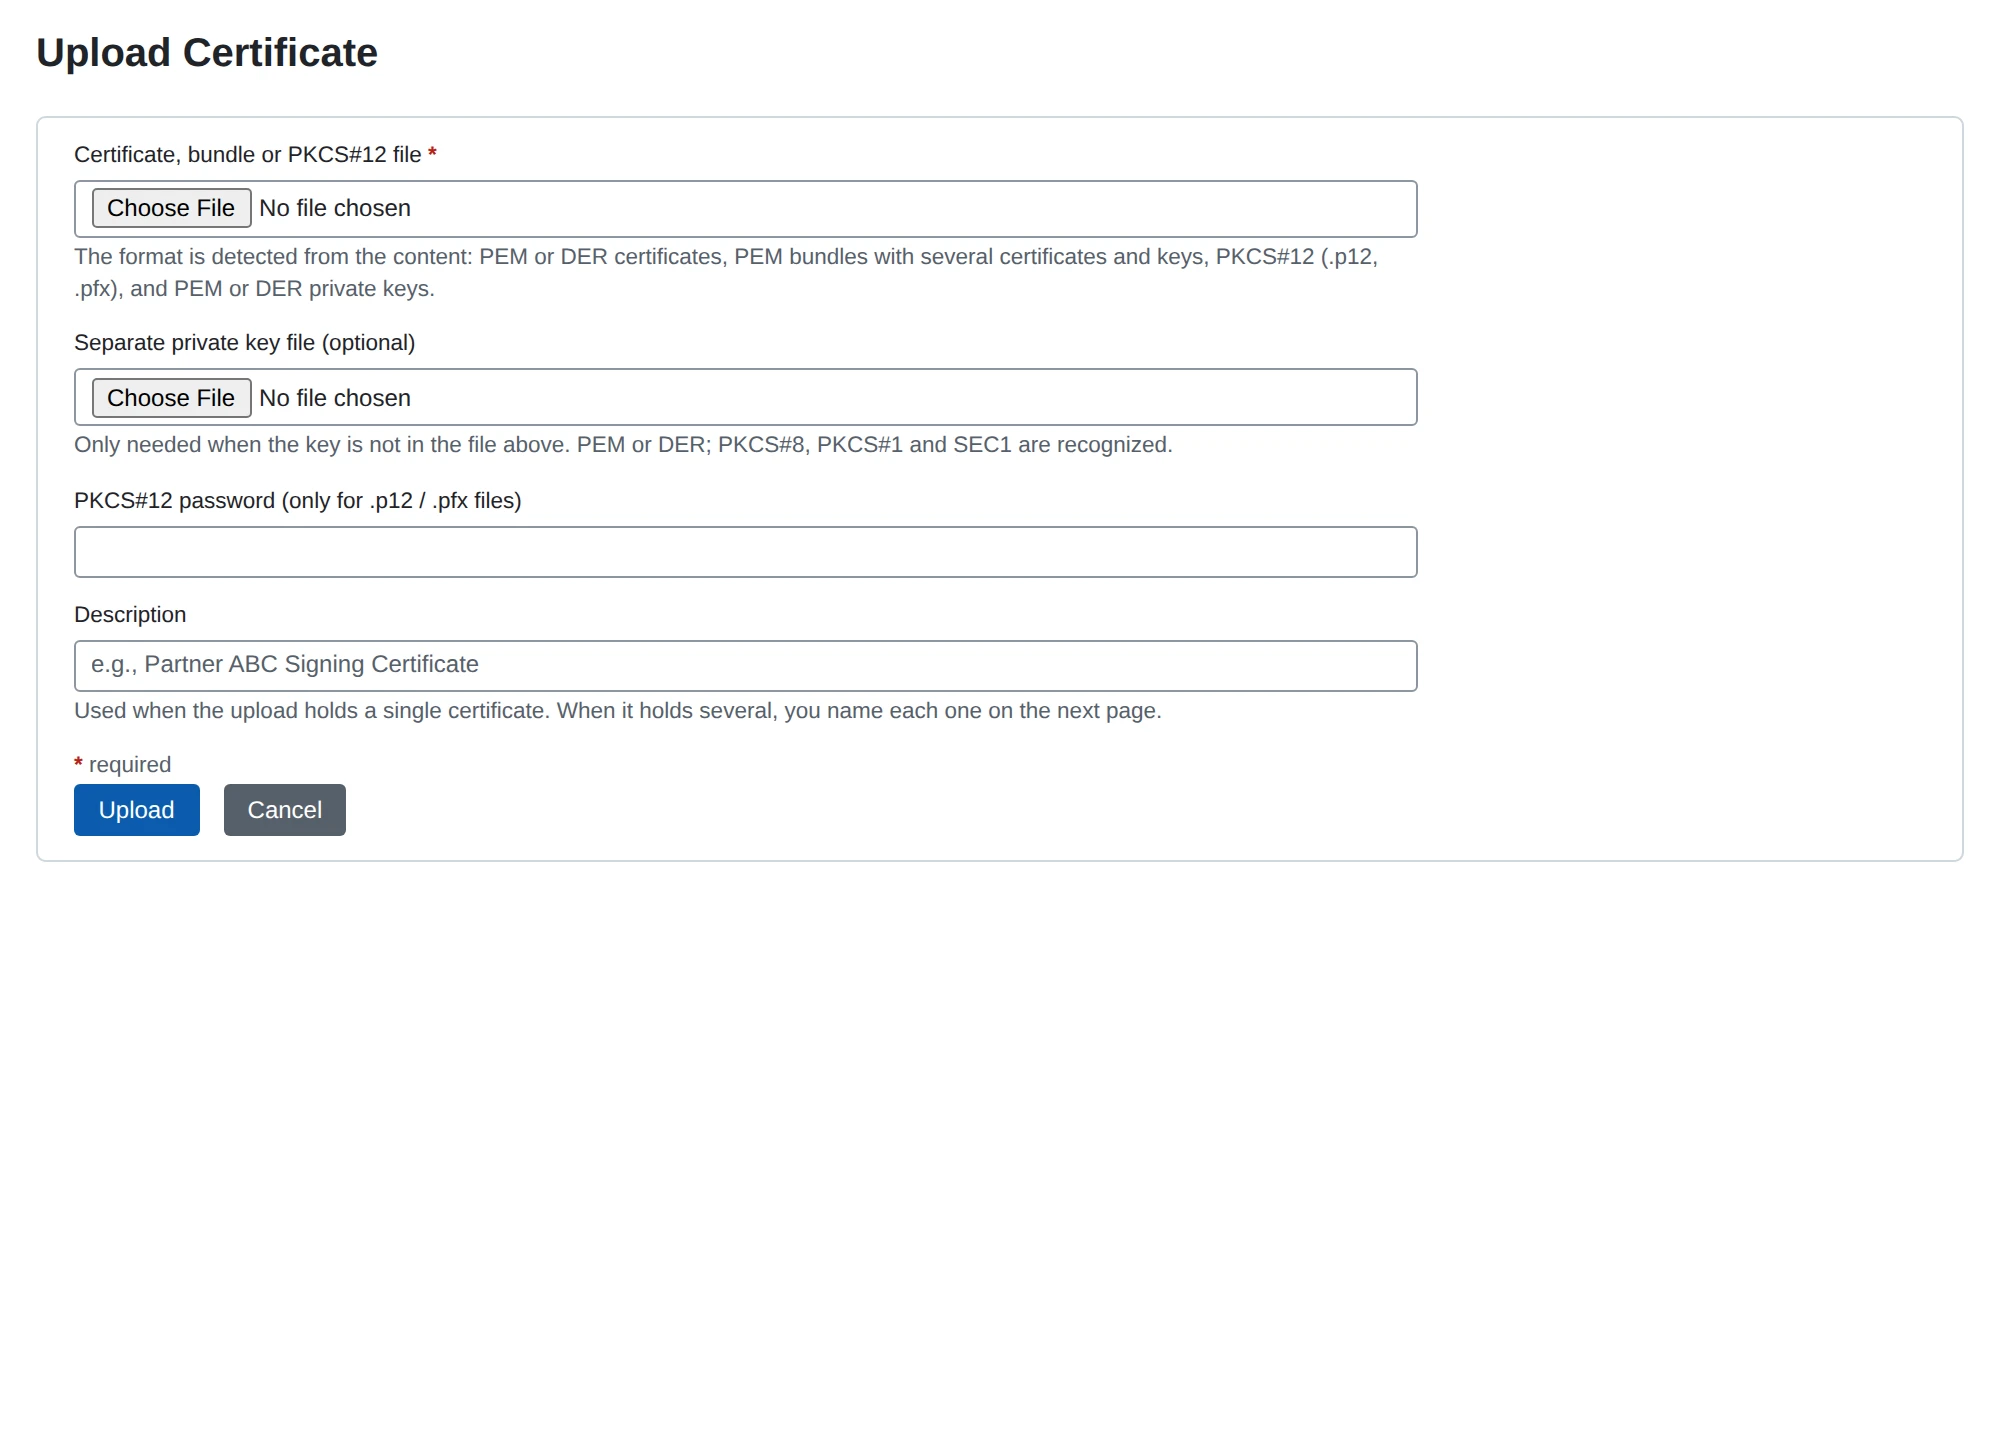
Go to Configuration > Certificates > Upload Certificate and upload twice:
| Certificate file | Private key file | Description |
|---|---|---|
us.crt | us.key | Our certificate |
acme.crt | (none) | Acme’s certificate |
PEM, DER, bundles and PKCS#12 (.p12, .pfx) files all work. See Certificates.
5. Give your organization an AS2 profile
The AS2 profile tells partners who you are. Go to Configuration > Organizations, open local, and choose Configure AS2 under Protocol Configurations > AS2:
| Field | Value |
|---|---|
| AS2 ID | MICROB2B (the ID you agree with your partner) |
| Our Certificate | Our certificate |
| MDN Notification To | [email protected] |
MDN Notification To is required because MicroB2B asks every partner for a receipt by default. See Organization AS2 profile.
6. Add the partner
Go to Configuration > Partners > + New Partner. Enter Name acme and Display Name Acme. On the partner’s page, choose Configure AS2:
| Section | Field | Value |
|---|---|---|
| Partner and endpoint | AS2 ID | ACME |
| Partner and endpoint | Endpoint | The partner’s AS2 URL, for example http://partner.example.com:8082/as2 |
| Security | Partner Certificate | Acme’s certificate |
The other fields start with secure defaults. Messages are signed and encrypted, and a signed receipt is requested. The partner’s messages must arrive signed and encrypted. See Partner AS2 profile.
Organizations, partners, profiles, certificates and routes take effect at once. They need no restart.
7. Check the plugins and routes
A new installation has four plugin instances, already running:
| Type | Name | Settings |
|---|---|---|
| AS2 receiver | as2_receiver_default | Port 8081, path /as2 |
| AS2 sender | as2_sender_default | Defaults |
| File poller | file_poller_default | Watches data/outbox/<partner name>/, moves sent files to data/processed |
| File writer | file_writer_default | Writes to data/inbox/<sender name>/ |
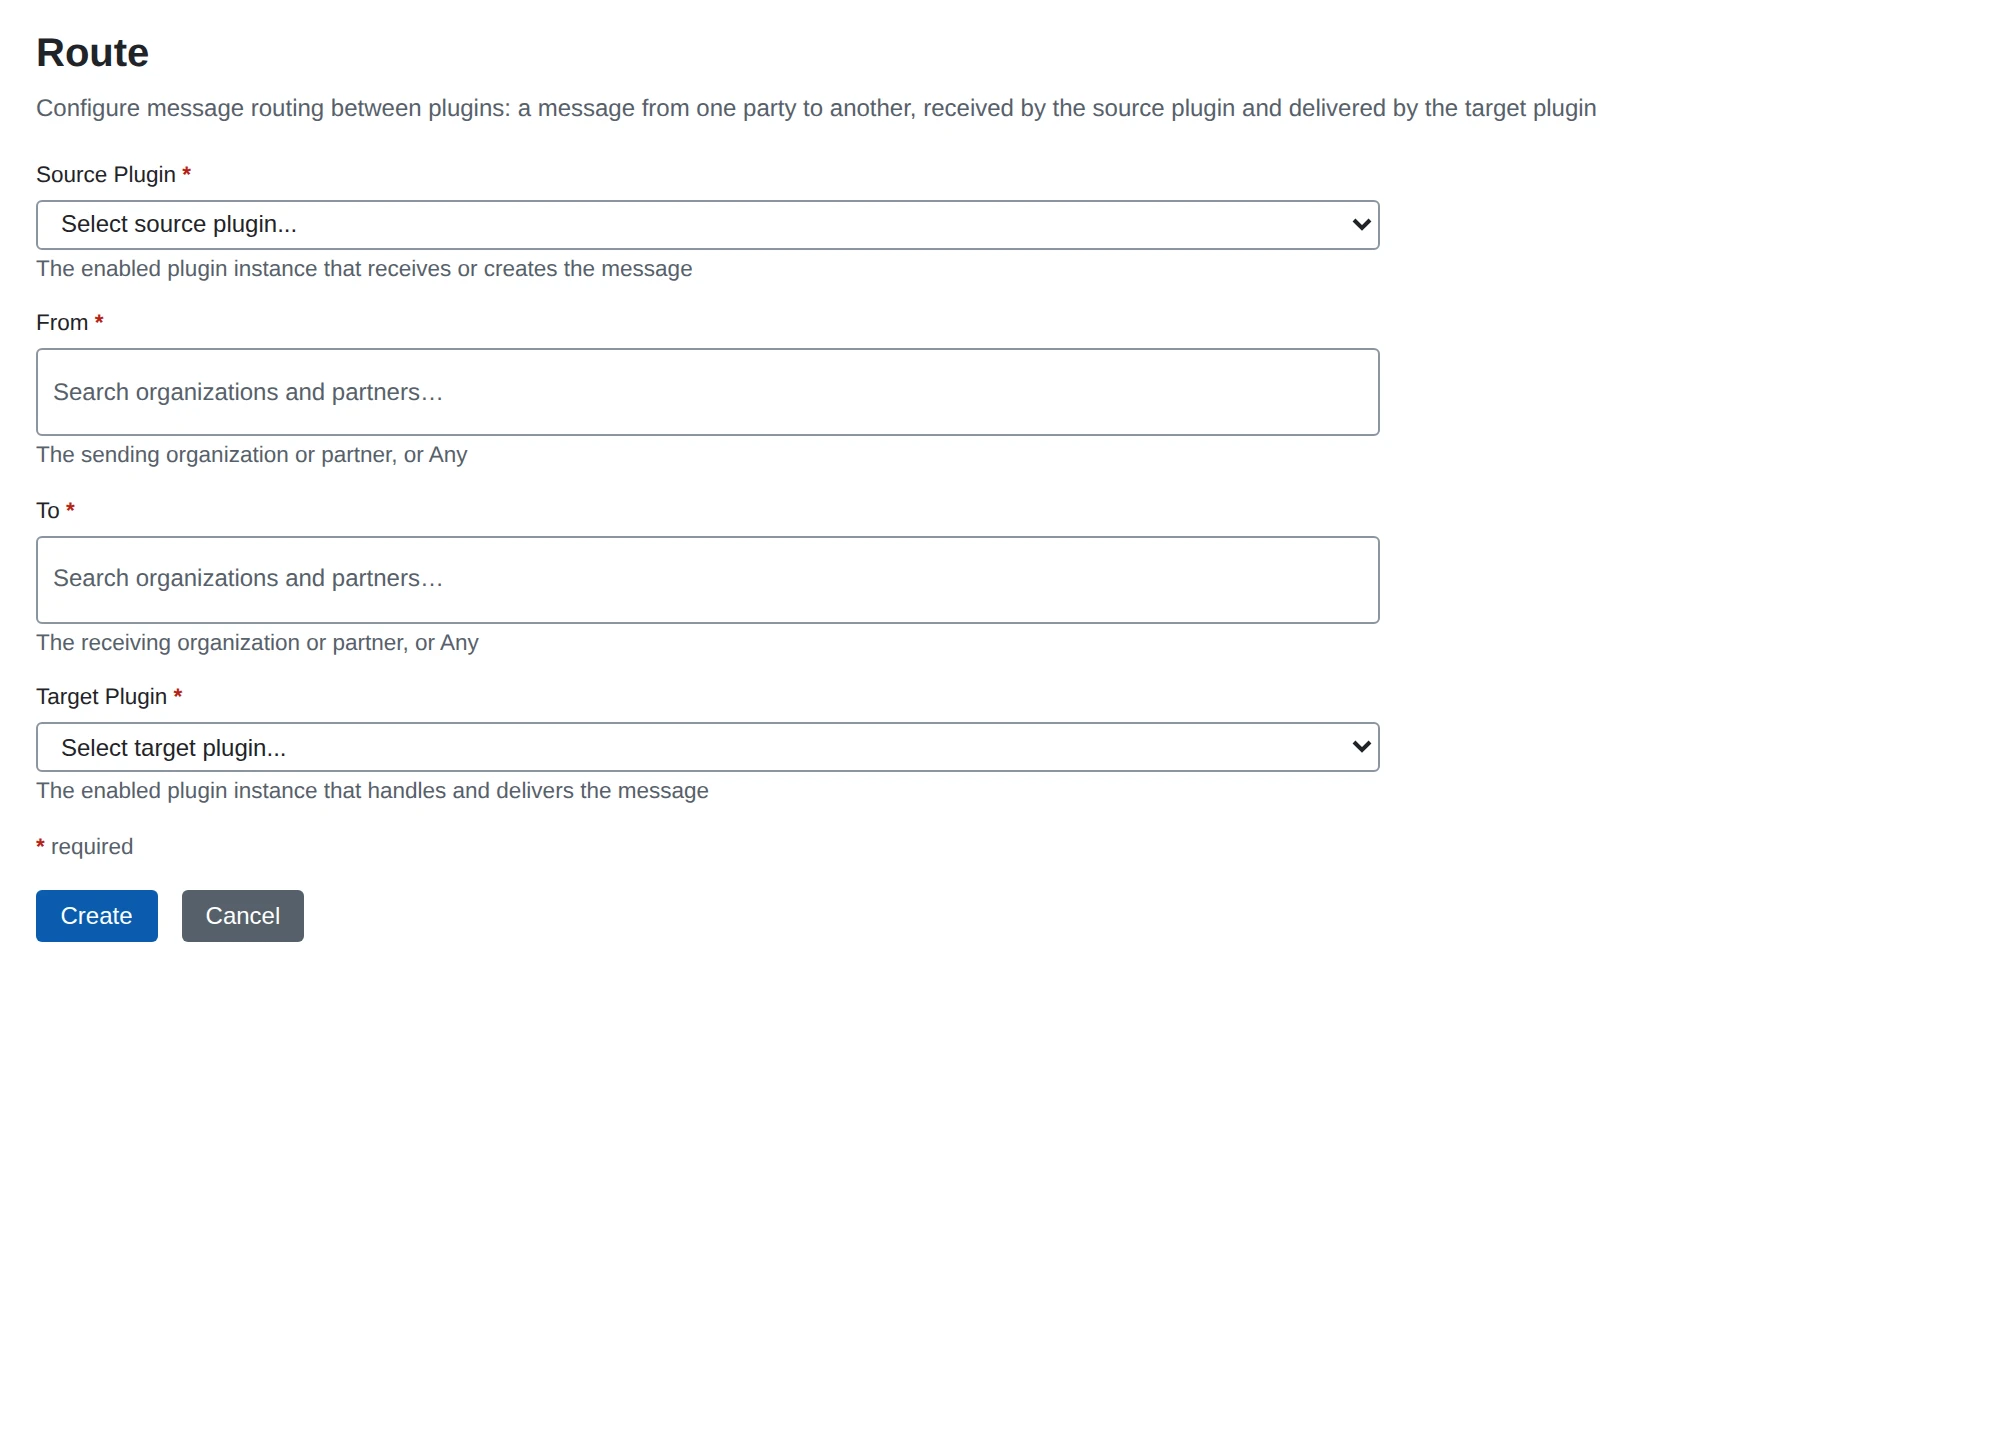
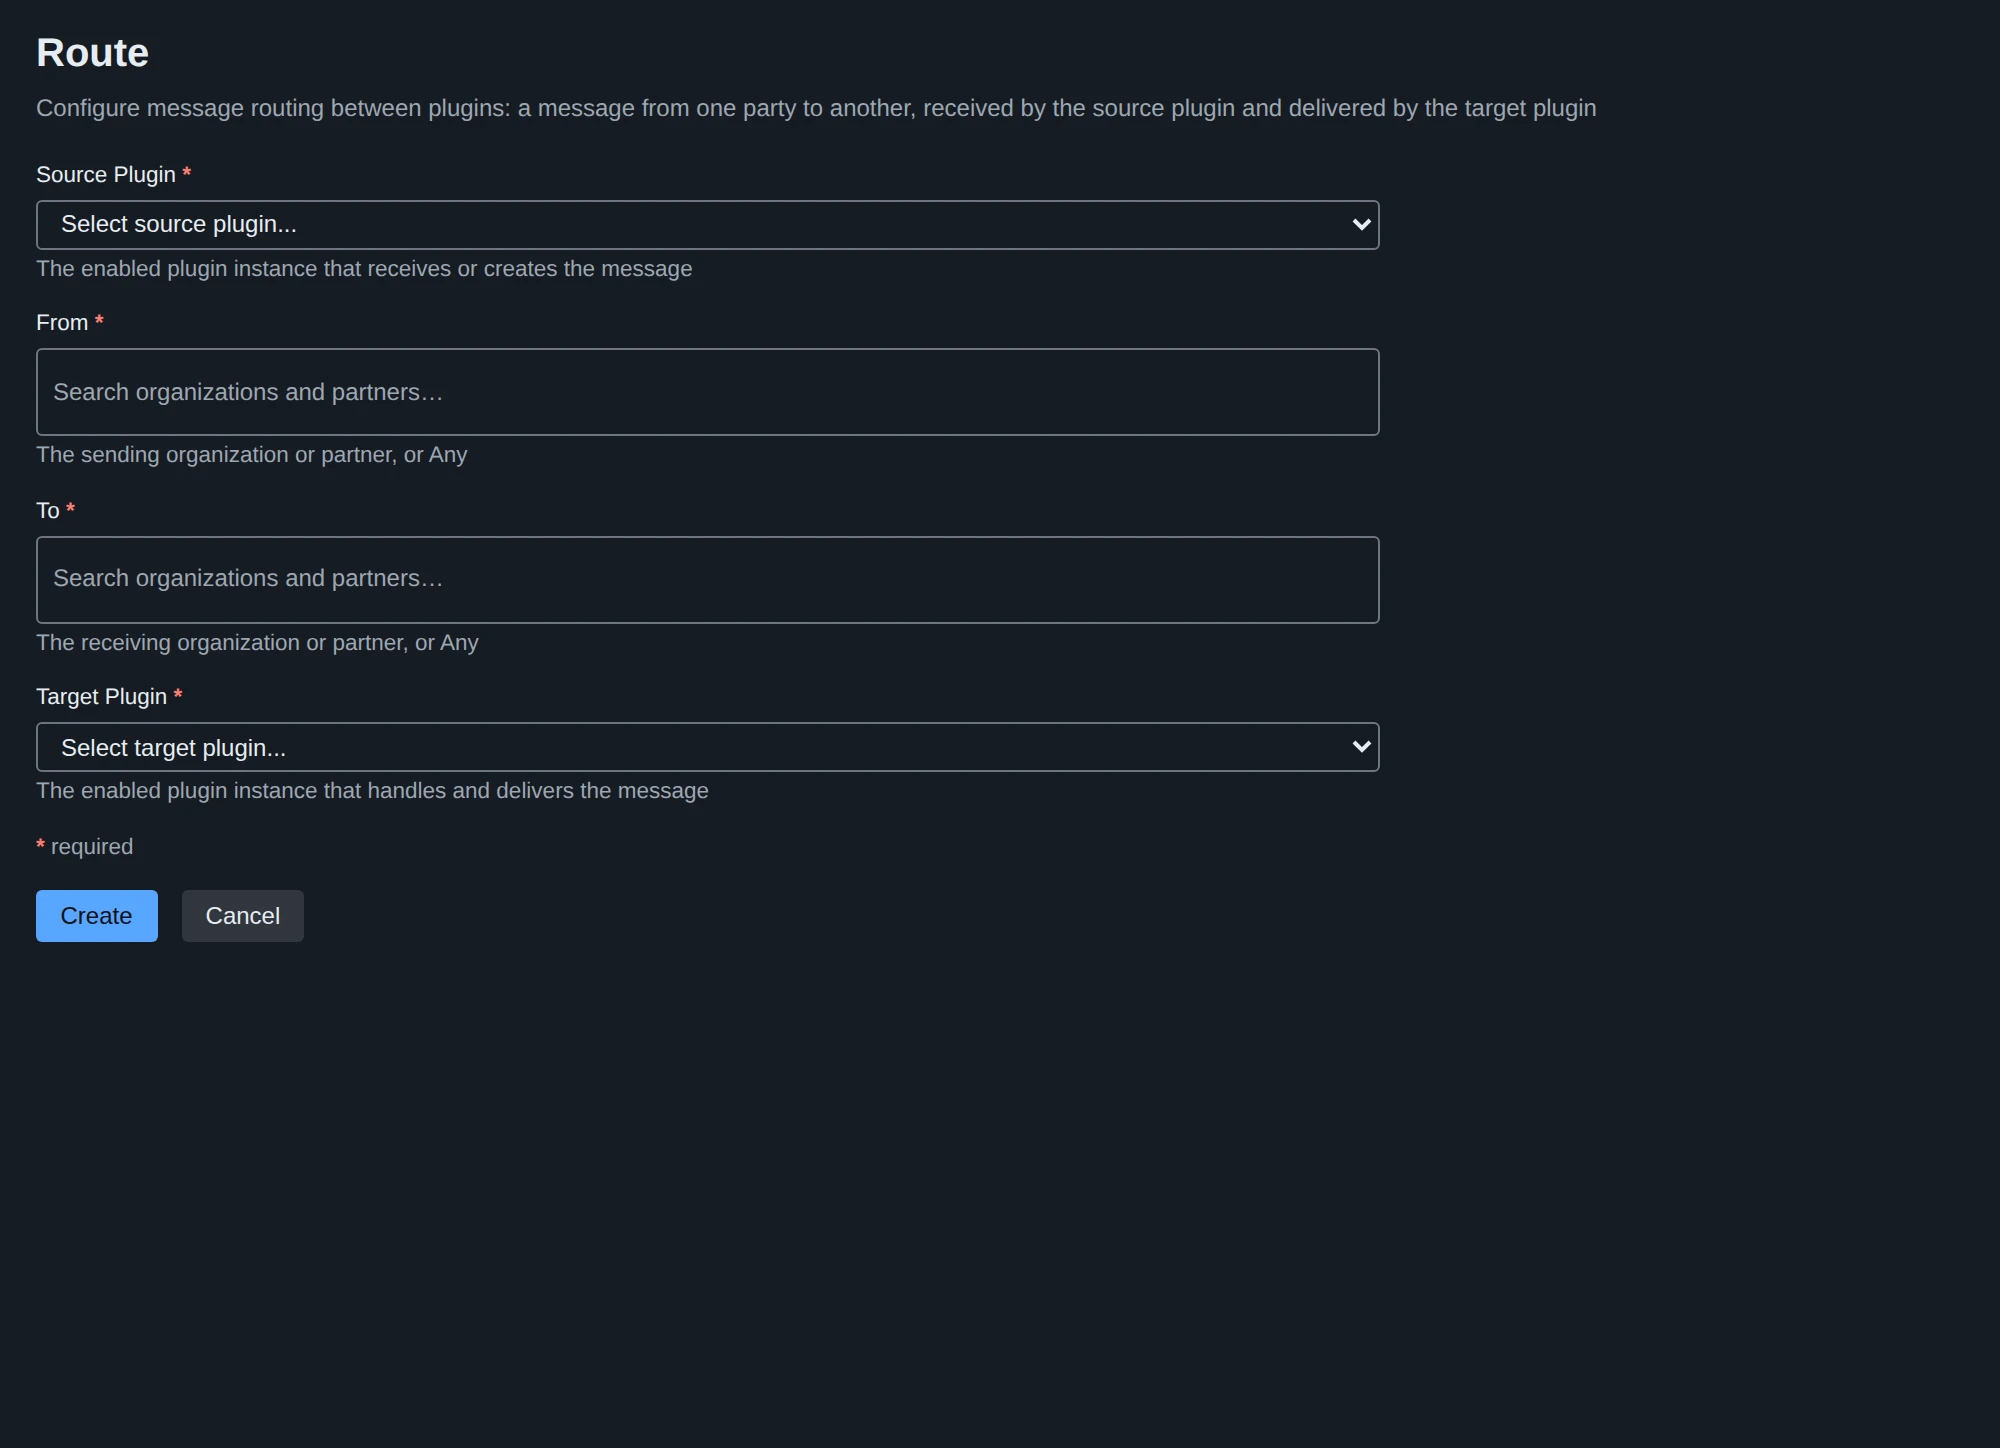
The directories are relative to where you started MicroB2B, so ~/microb2b-demo/data/.... Messaging > Routes has two routes:
| Source Plugin | From | To | Target Plugin |
|---|---|---|---|
file_poller_default | Any | Any | as2_sender_default |
as2_receiver_default | Any | Any | file_writer_default |
So a file in the outbox goes to the partner over AS2. What a partner sends over AS2 goes to the inbox. You do not need to change anything here. See Routes, File poller and File writer.
8. Send a file
Drop a file in the partner’s outbox folder:
mkdir -p ~/microb2b-demo/data/outbox/acme
echo "Hello from MicroB2B" > ~/microb2b-demo/data/outbox/acme/hello.txt
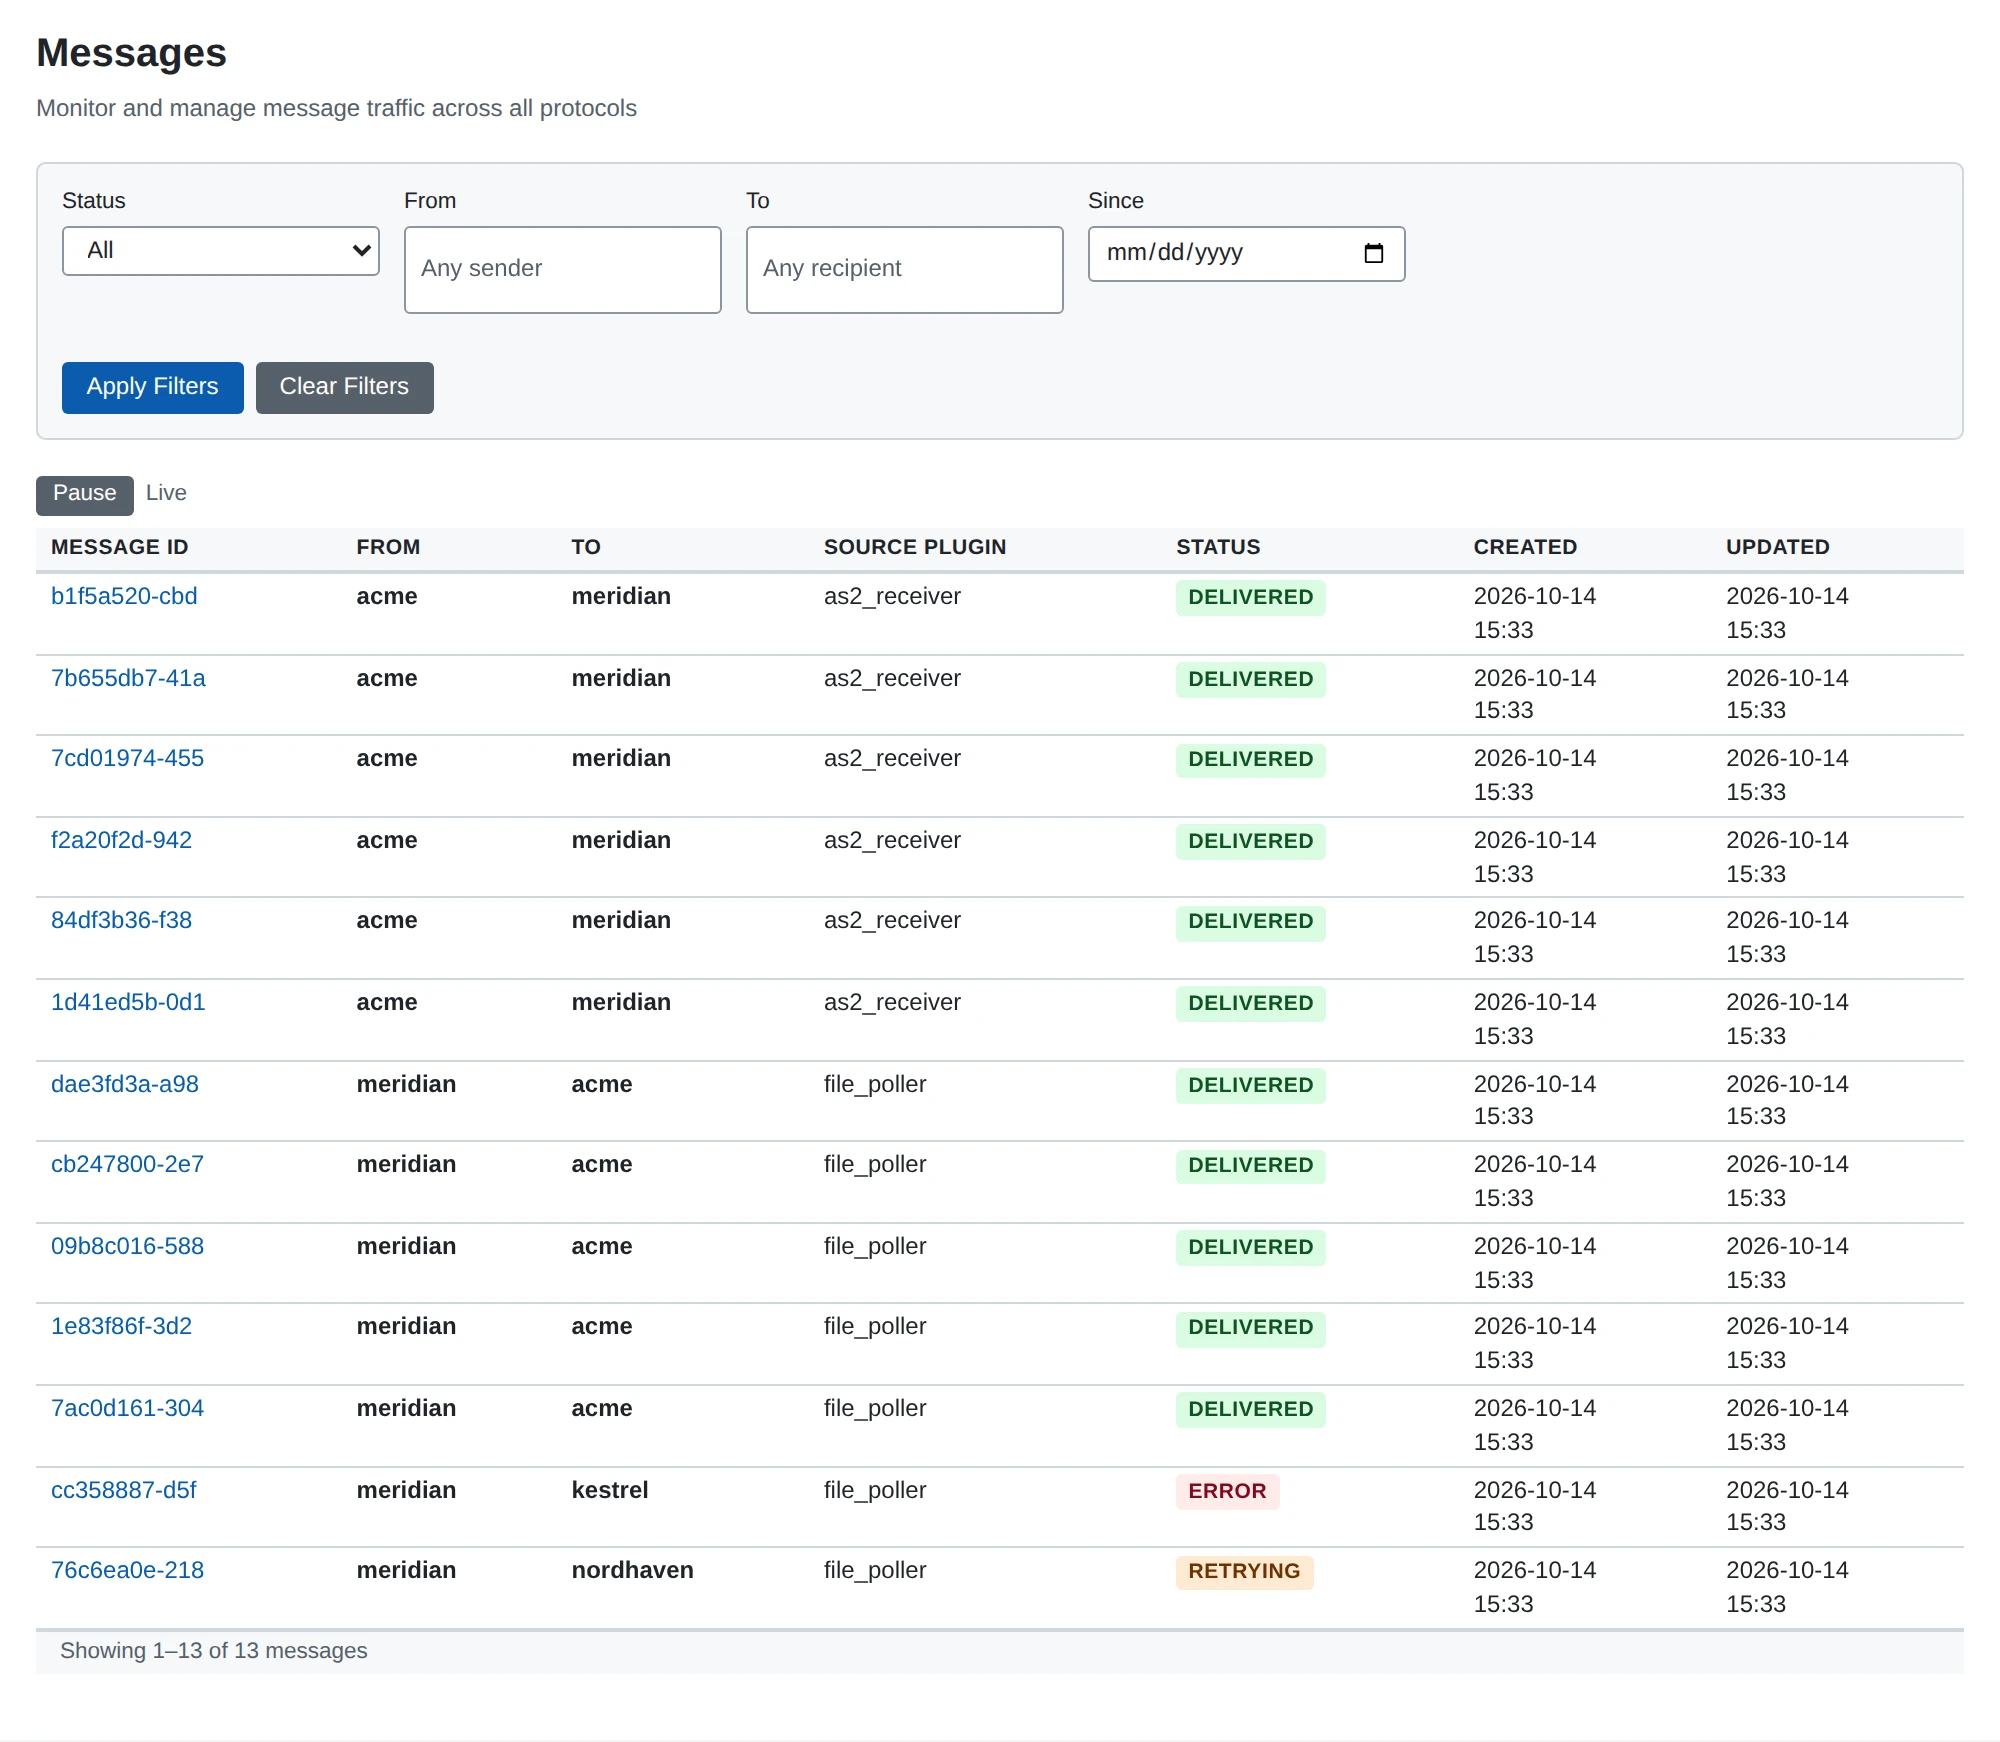
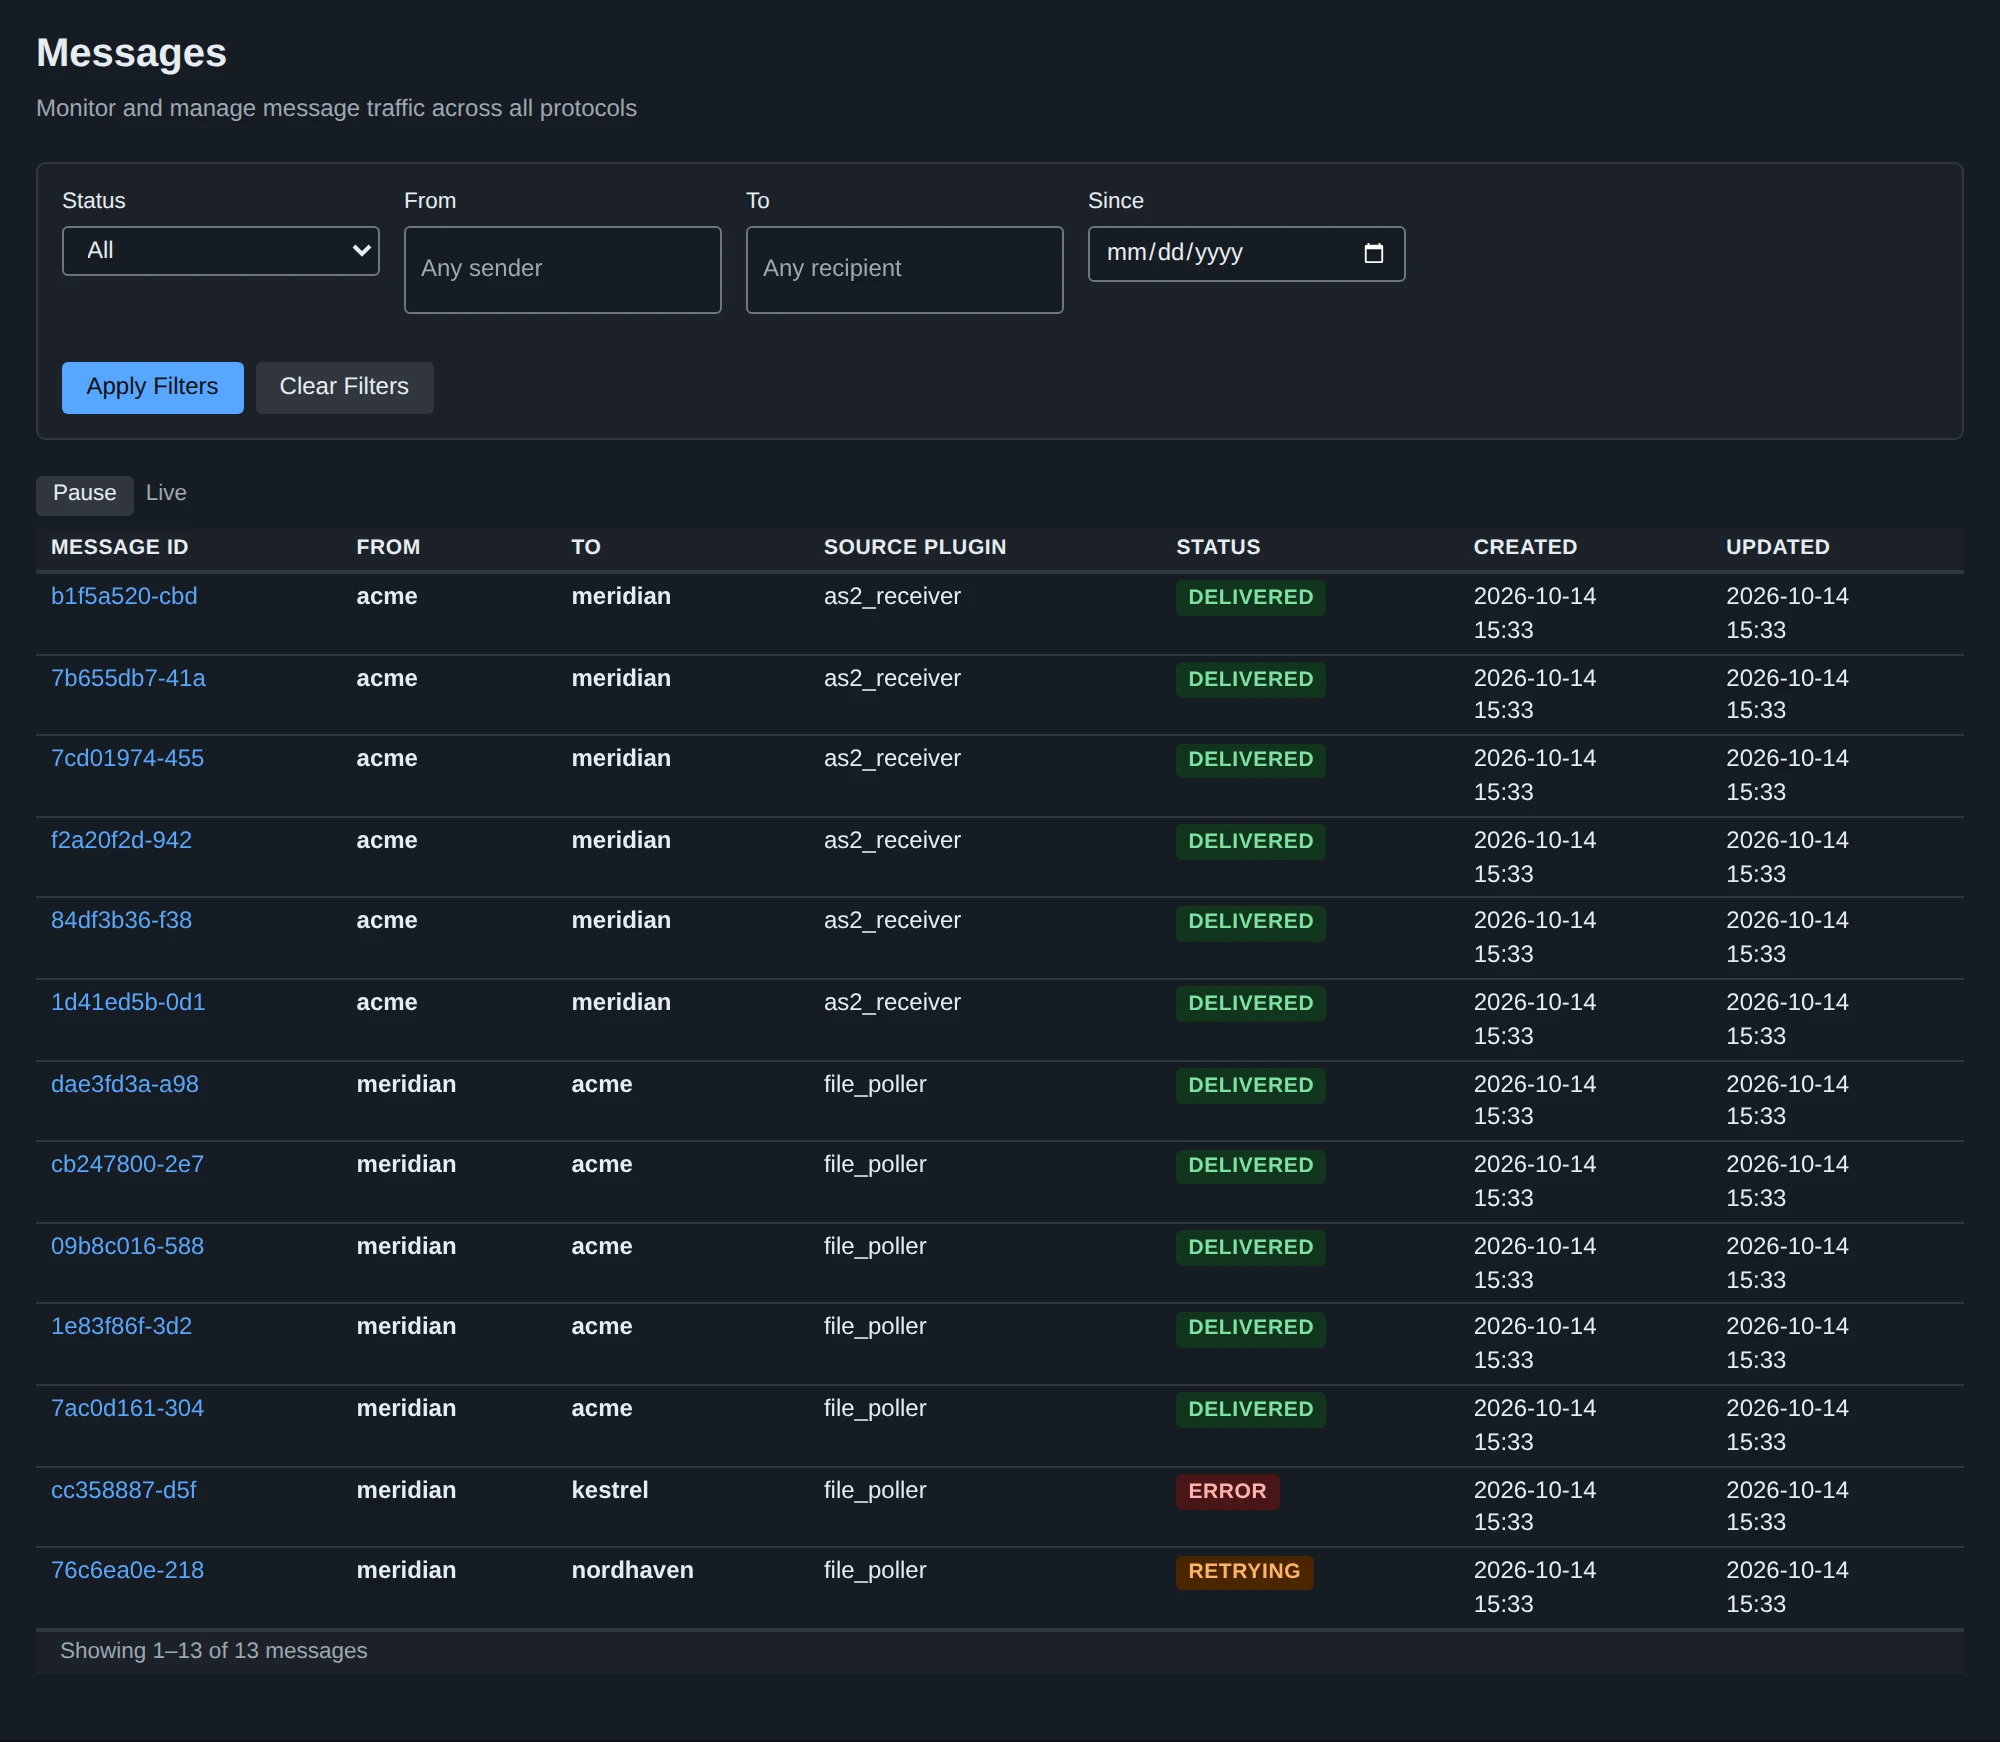
Within a few seconds the file moves to data/processed/acme/hello.txt. Messaging > Messages shows a message from local to acme:
- Delivered: the partner received it and sent a good receipt.
- Retrying: the partner could not be reached. MicroB2B tries again. The message’s page says why.
Open the message to see its history, its receipt and the stored content. See Messages.
9. Receive a file
Give your partner your AS2 ID (MICROB2B), your certificate (us.crt, never the key) and your URL: http://<this host>:8081/as2. Make sure port 8081 is reachable from the partner.
When the partner sends a message, it appears on Messaging > Messages. The file writer puts the document in data/inbox/acme/, named after the partner’s file name. The message is Delivered once the file is written.
System > Logs shows what MicroB2B does, as it happens.
Next steps
- Install and run: run MicroB2B as a service, with systemd or in a container.
- Reverse proxy: HTTPS for the web UI.
- Payload storage: where message contents are kept.
- AS2 overview: every AS2 setting.
- Troubleshooting: when a message does not arrive.